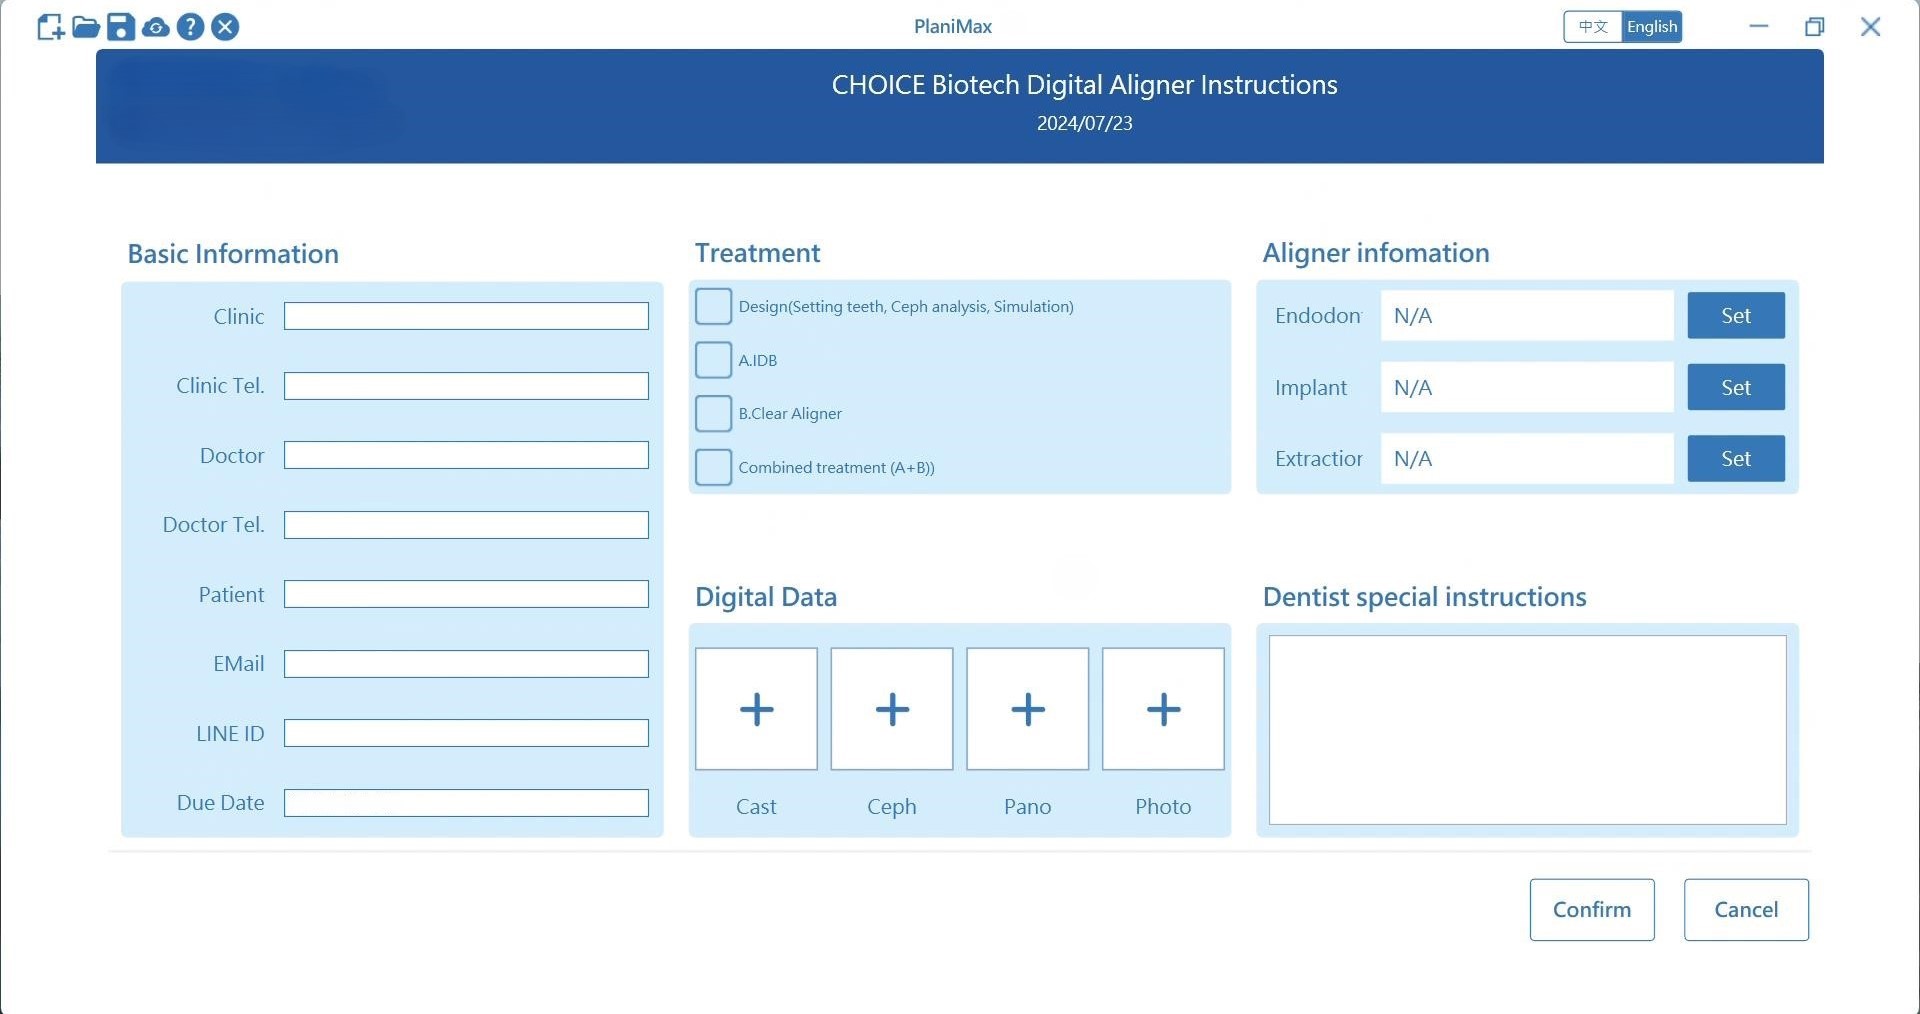
Learn how to create a new project within the software and insert cephalometric X-rays and panoramic X-rays.
2
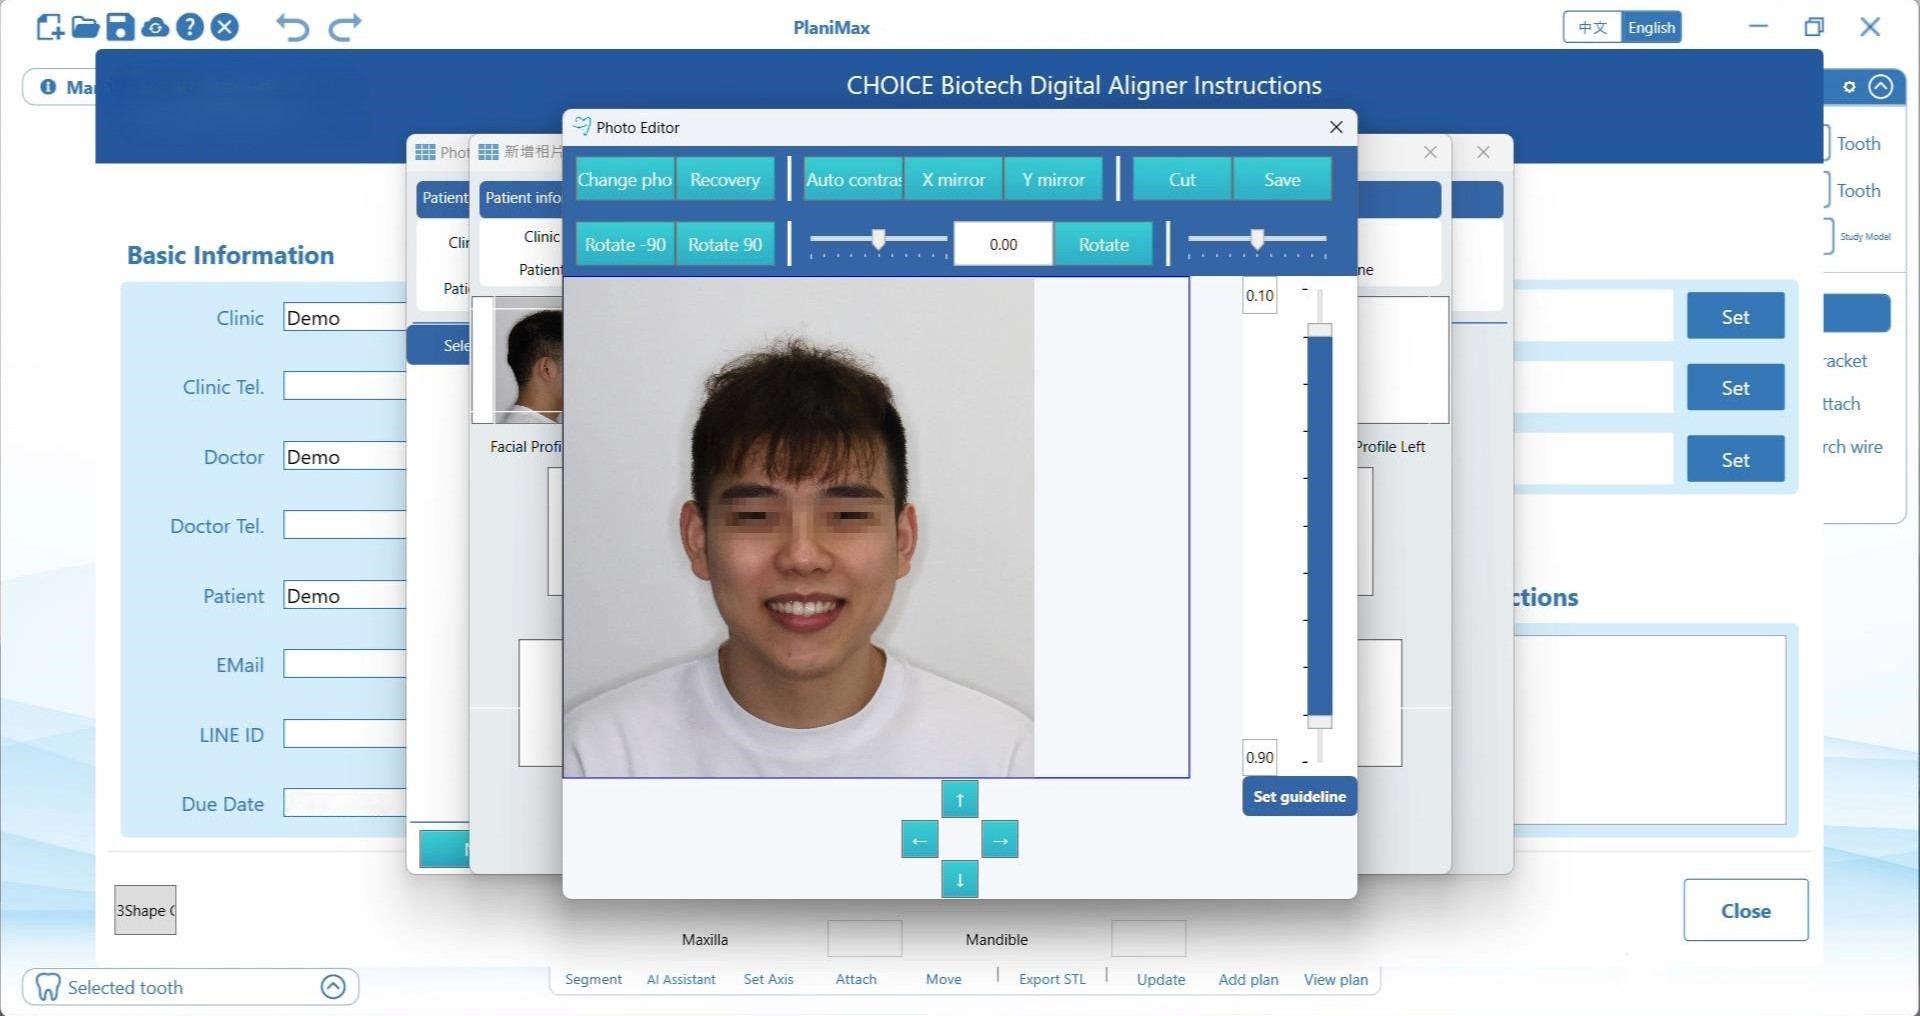
Photo Management
Learn how to insert photos into your project and refine them by cropping, rotating, and mirroring horizontally and vertically.
3
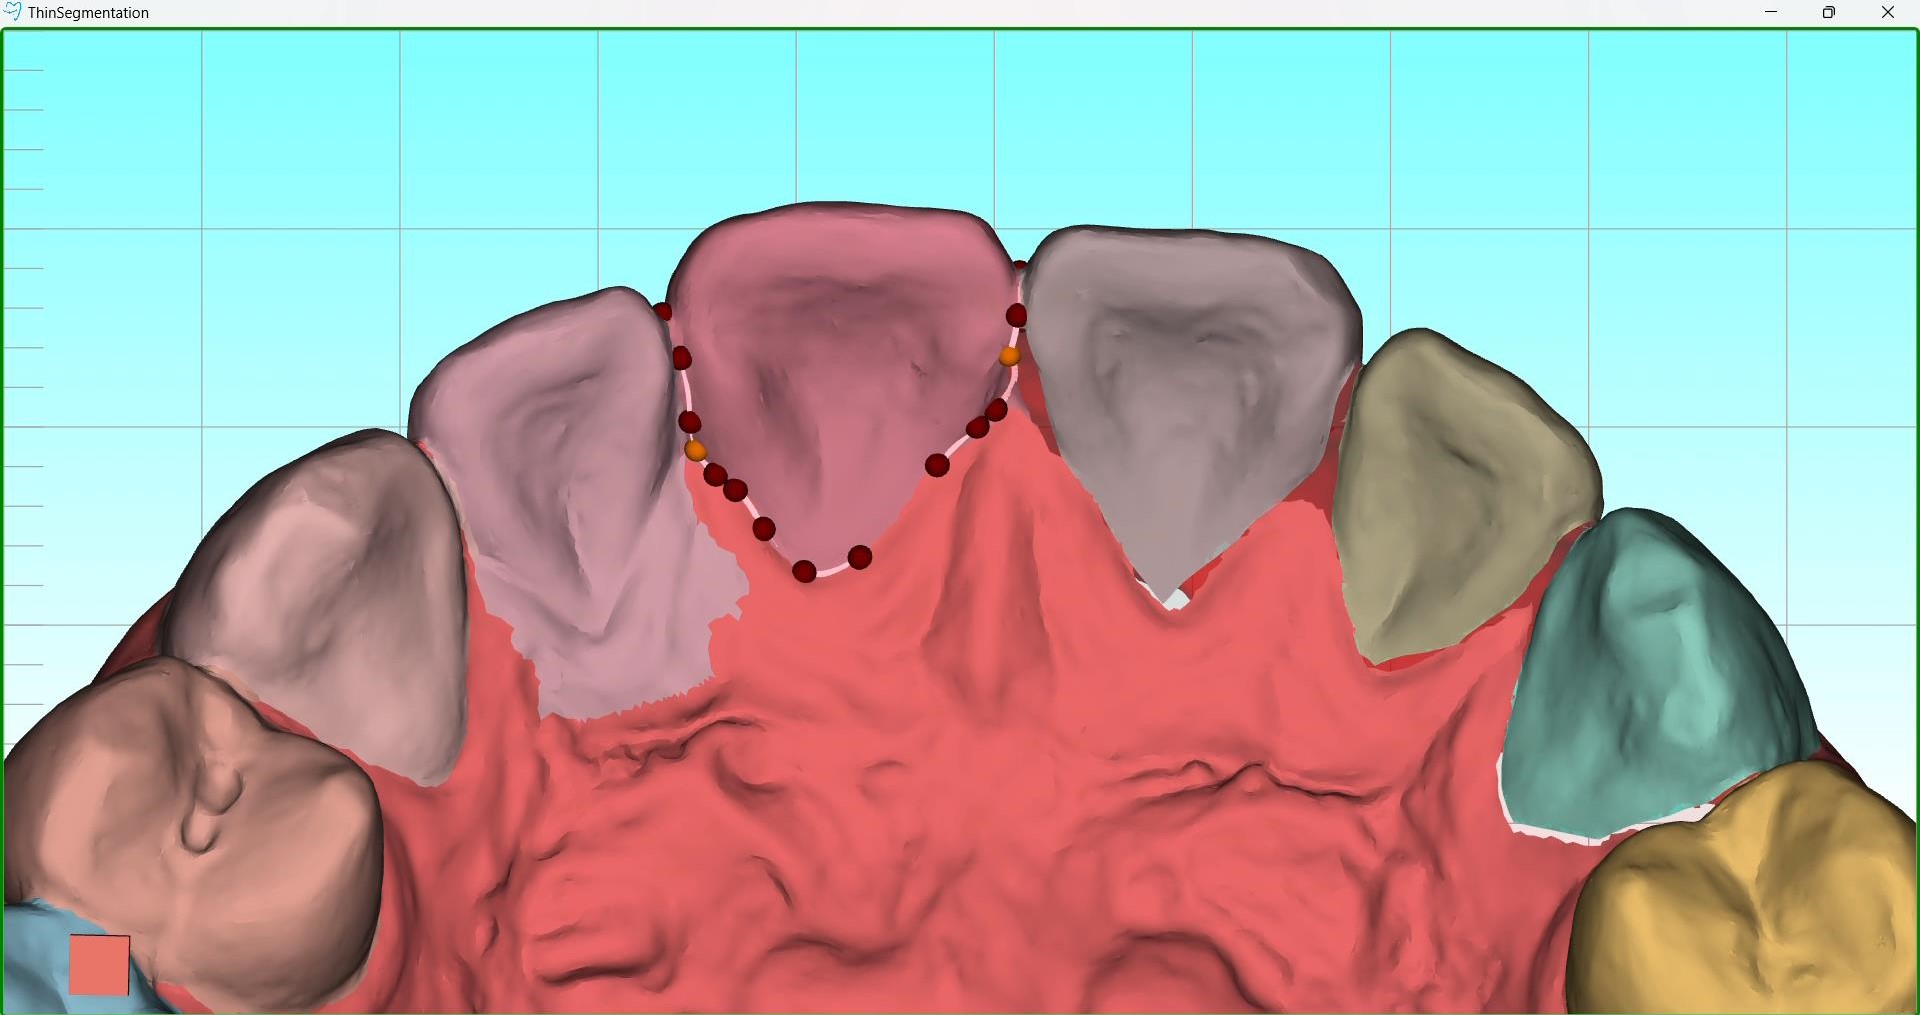
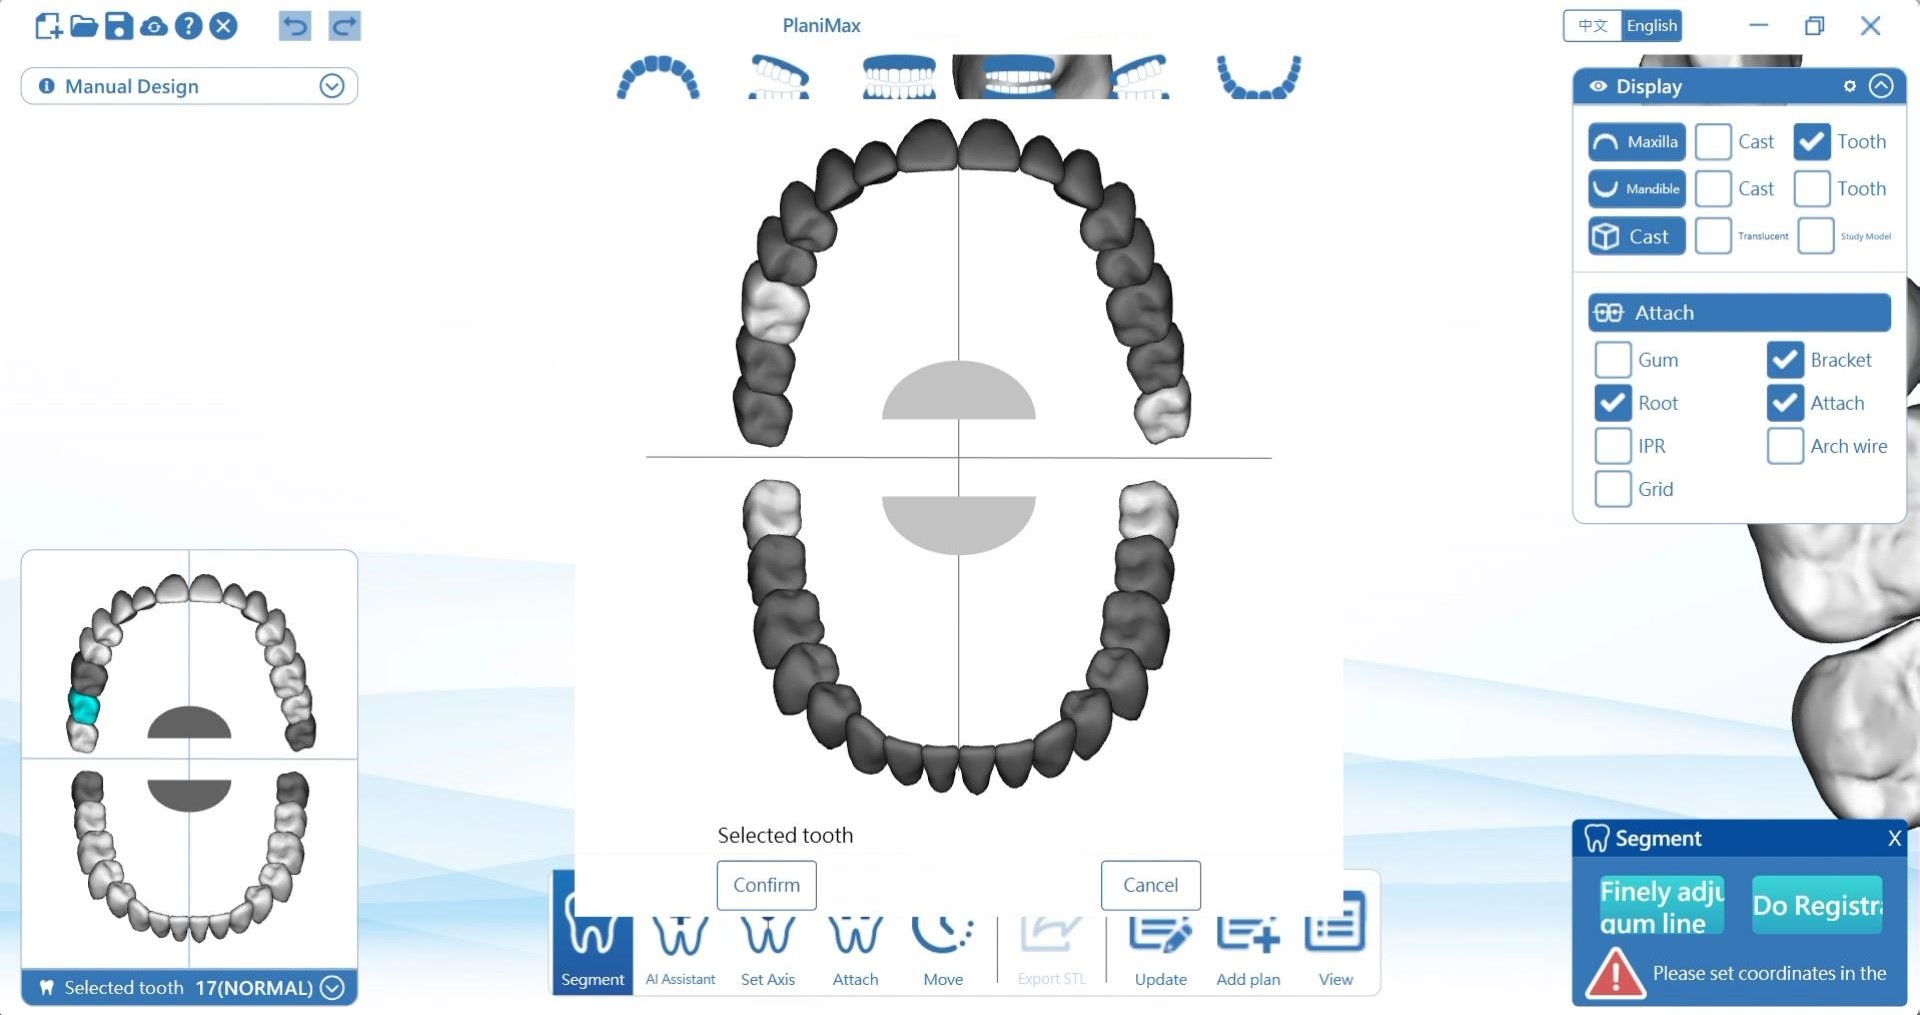
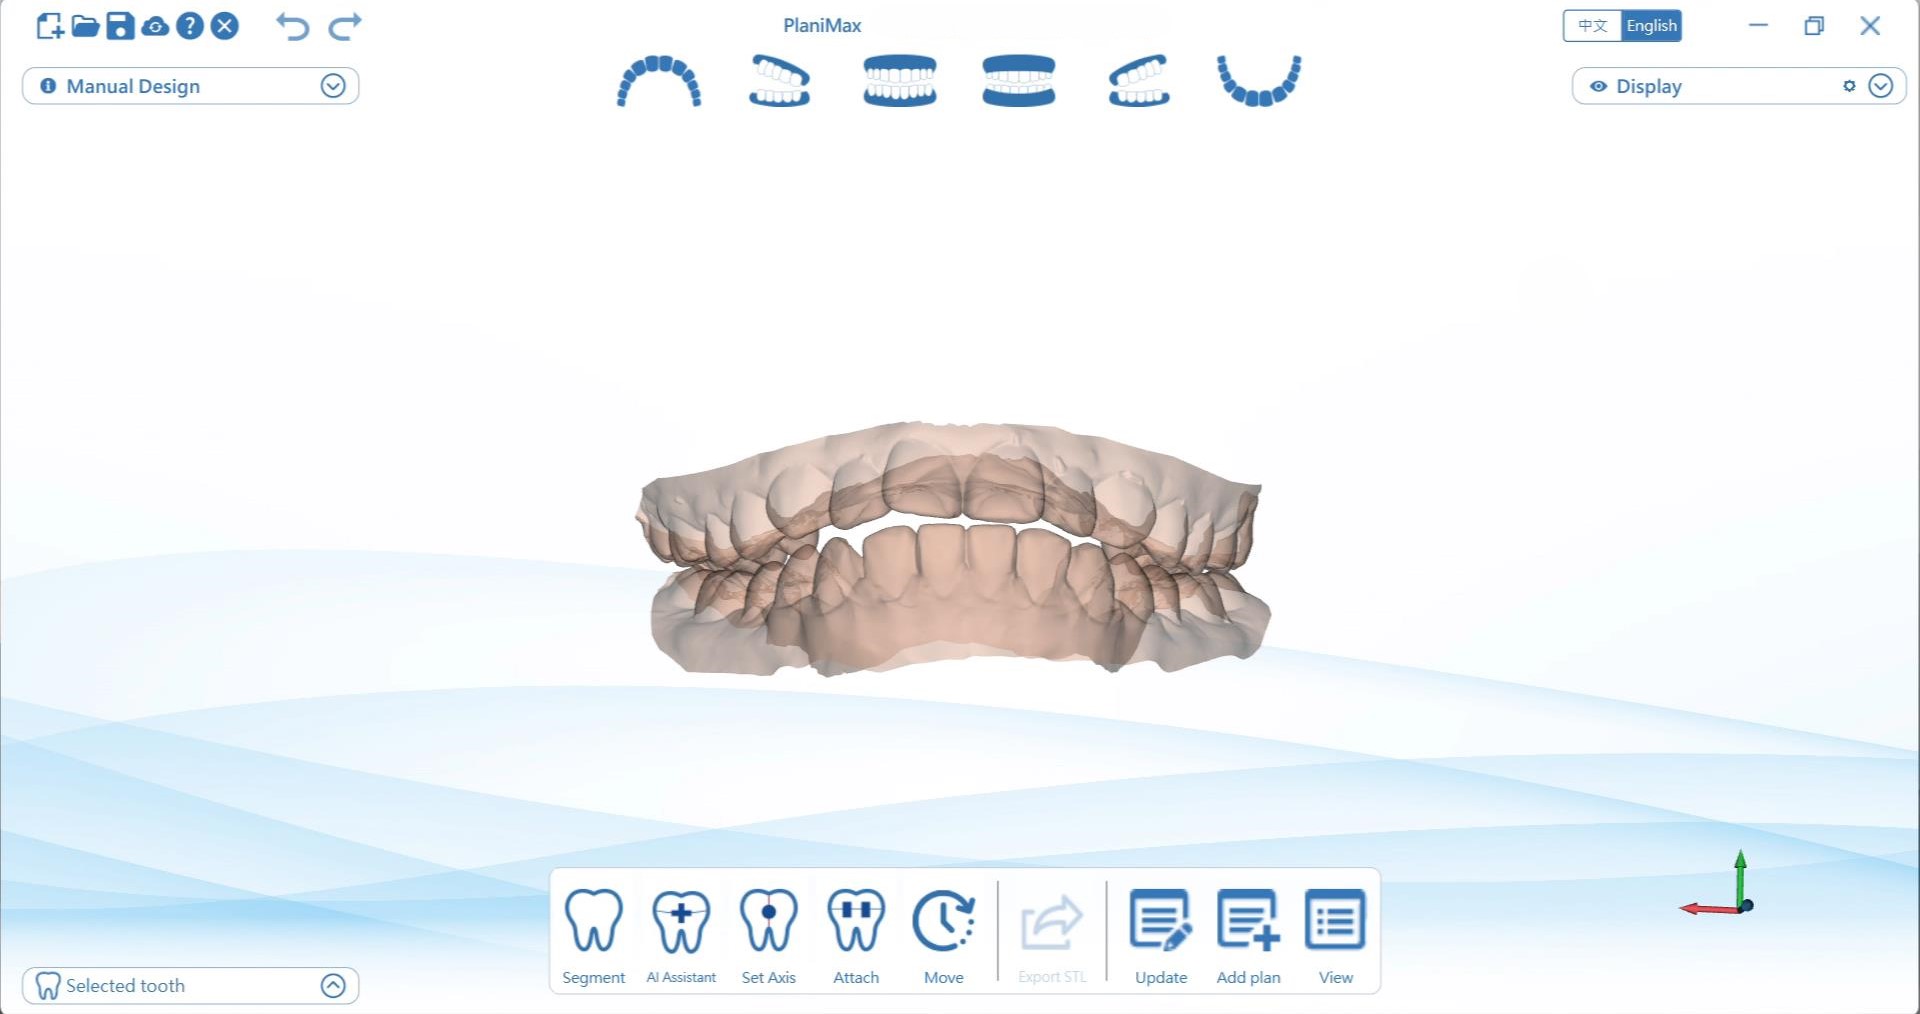
Teeth Segmentation
Learn how to segment teeth using both manual and AI methods, and adjust the gingival margin for each tooth individually. View the full tutorial covering segmentation for both maxillary and mandibular teeth.
3.1
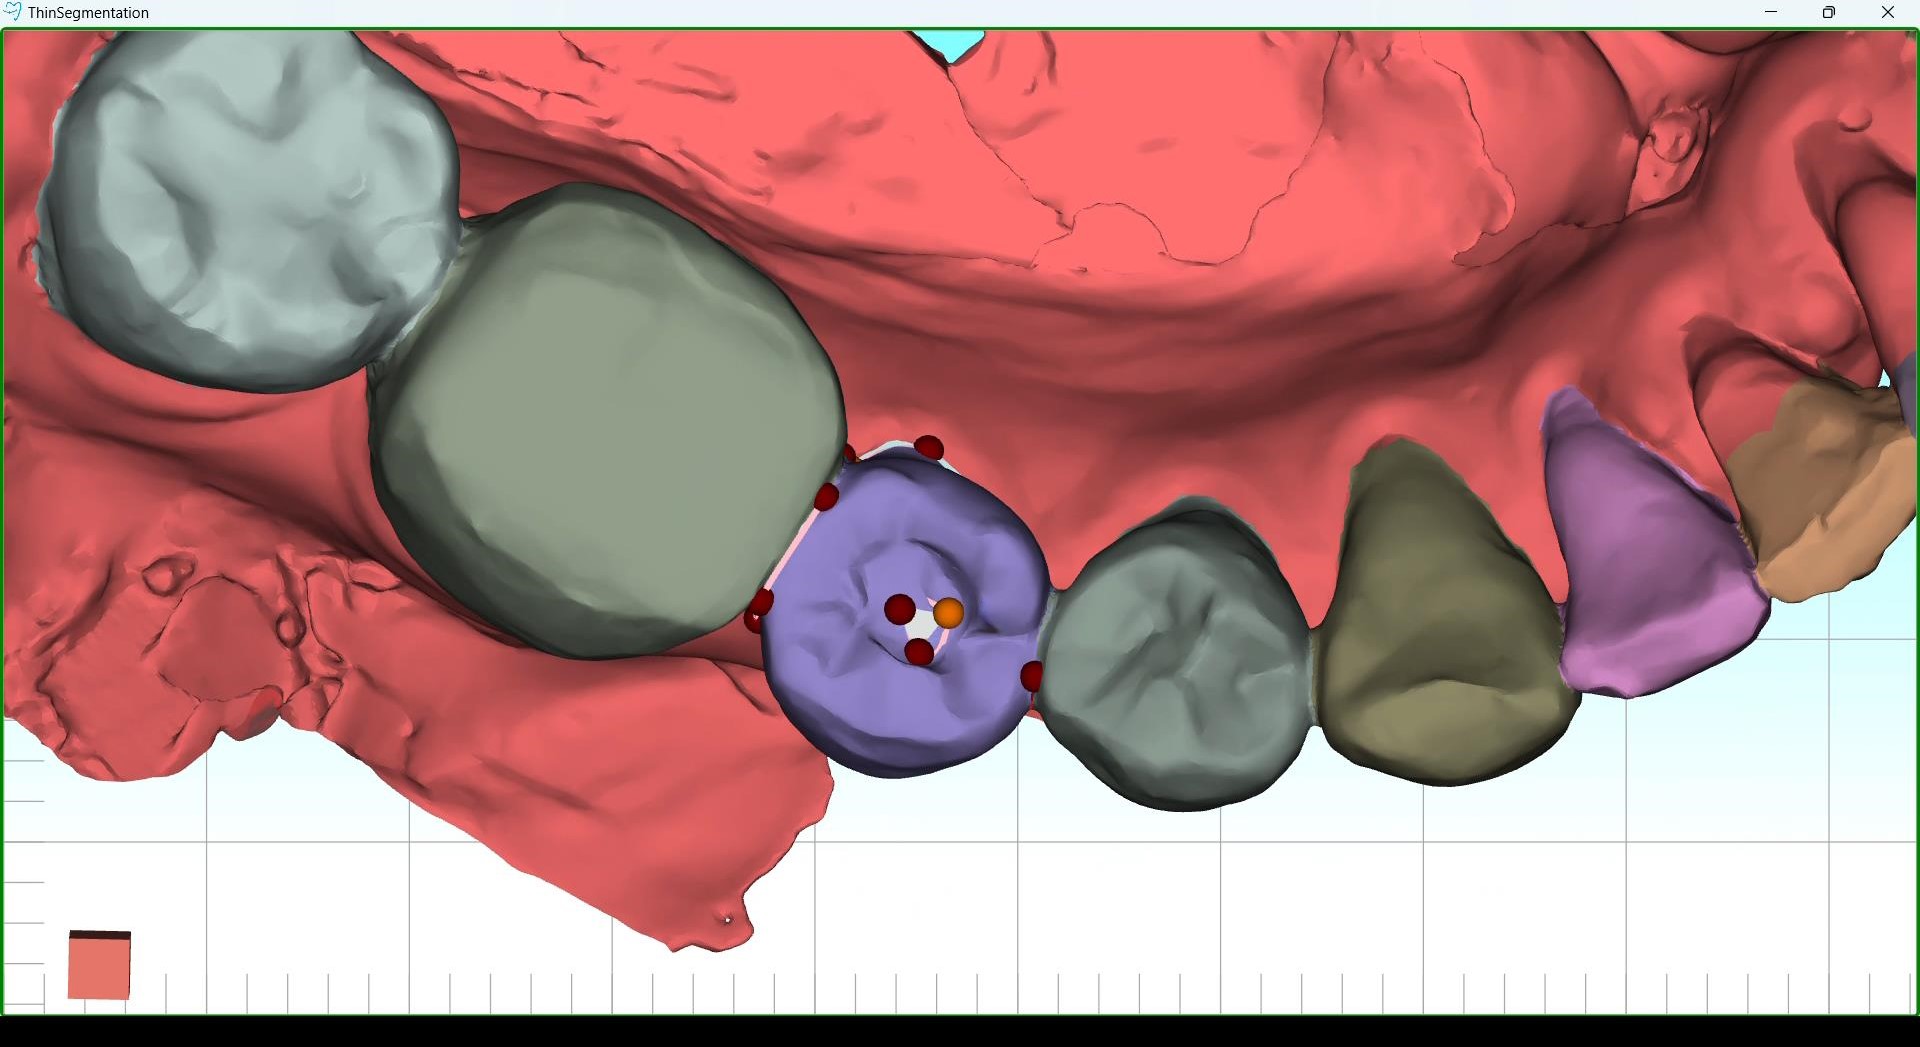
Fixing Segmentation Bugs
In this video, we will guide you through resolving some common segmentation issues
Correcting Missing Roots: Add control points and refine the boundary to make the missing roots visible after updating the teeth model.
Handling Extra Control Points:
Each tooth should only have one loop of control points. In cases where an extra loop is present, move it to the labial, buccal, or occlusal area of the tooth and minimize its size. Refine the boundary and renew the teeth model.
If refining the boundary causes the tooth structure to hollow out, reverse the loop direction to correct the issue, leaving only a small hole in the area where the loop is placed.
4
Resetting Tooth Notation/ Add a Tooth
In cases of incorrect dental notations, reset each tooth notation individually by right-clicking, selecting “Reset Dental Notation” and choosing the correct notation for each tooth.
5
CT Data Import
Coming Soon
6
Saving a Project Locally and Updating a Project (Engineer Perspective)
This tutorial provides instructions on saving a project locally, locating the file on your computer, and updating the project from an engineer’s perspective.